Color correction (Advanced)
Maintaining uniform image color on the projection surface can be challenging, especially if the surface is significantly non-uniform. The position and distance of the projector relative to the curved projection surface can result in hot spots on the projection screens.
Immersive Calibration PRO provides an advanced color correction method using a spatial color correction grid per projector combined with Contrast, Saturation and Brightness per projector.
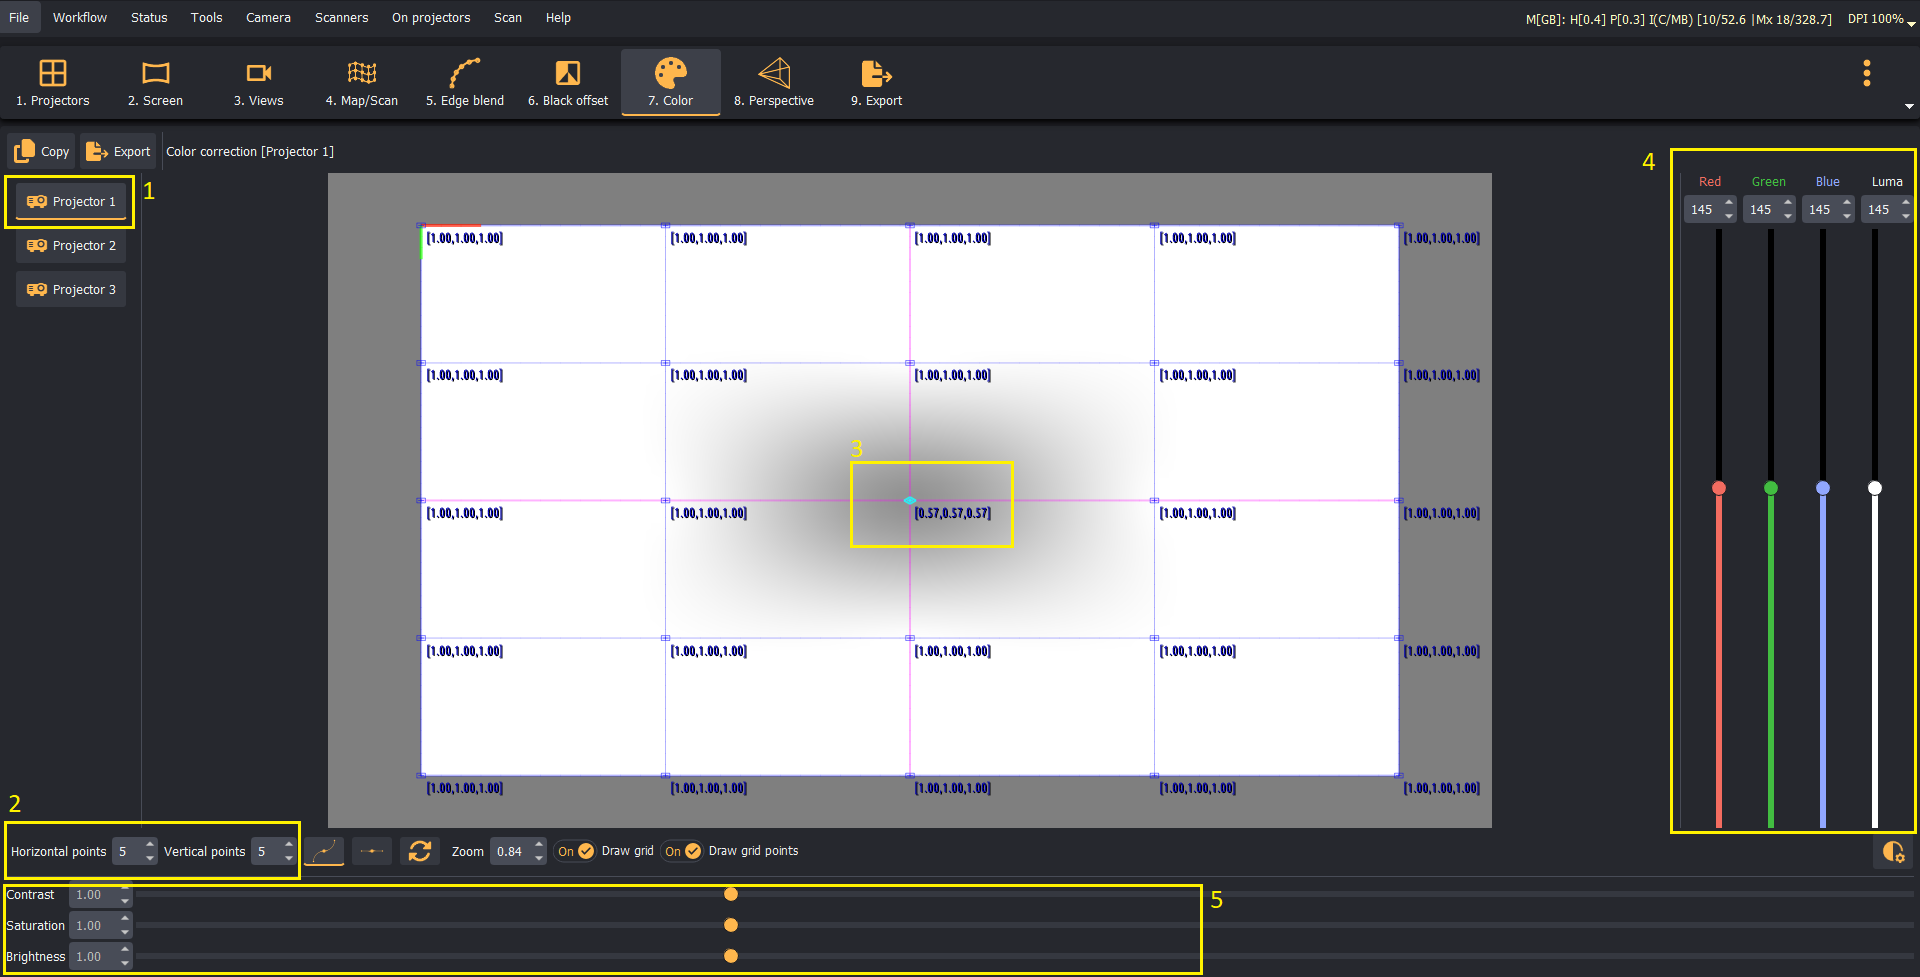
- Select Projector1.
- Ensure the desired control points of the spatial color correction grid.
- Select a control point:
- Adjust the brightness of the control point by either using all three color components
(R/G/B)or adjust each color(R, G, B)independently. - Adjust the projector image
Contrast,SaturationandBrightness.
If needed, repeat these steps for each projector.
Color correction
- Use the Color correction controls only when the default settings do not produce the desired edge-blended seamless image.
- Avoid over-optimizing the Color correction, as this might result in worse outcomes than the default image.